
8 Graph Paper Activities for Math Lessons
Use ready-to-print graph paper activities to teach coordinates, area, perimeter, and fractions with low prep and higher lesson engagement.
Tip: For beginners, increase grid spacing and highlight major axes to reduce cognitive load during coordinate tasks.
Why use graph paper in math lessons?
Graph paper helps students visualize mathematical concepts that are often abstract, including coordinates, geometry, and fractions.
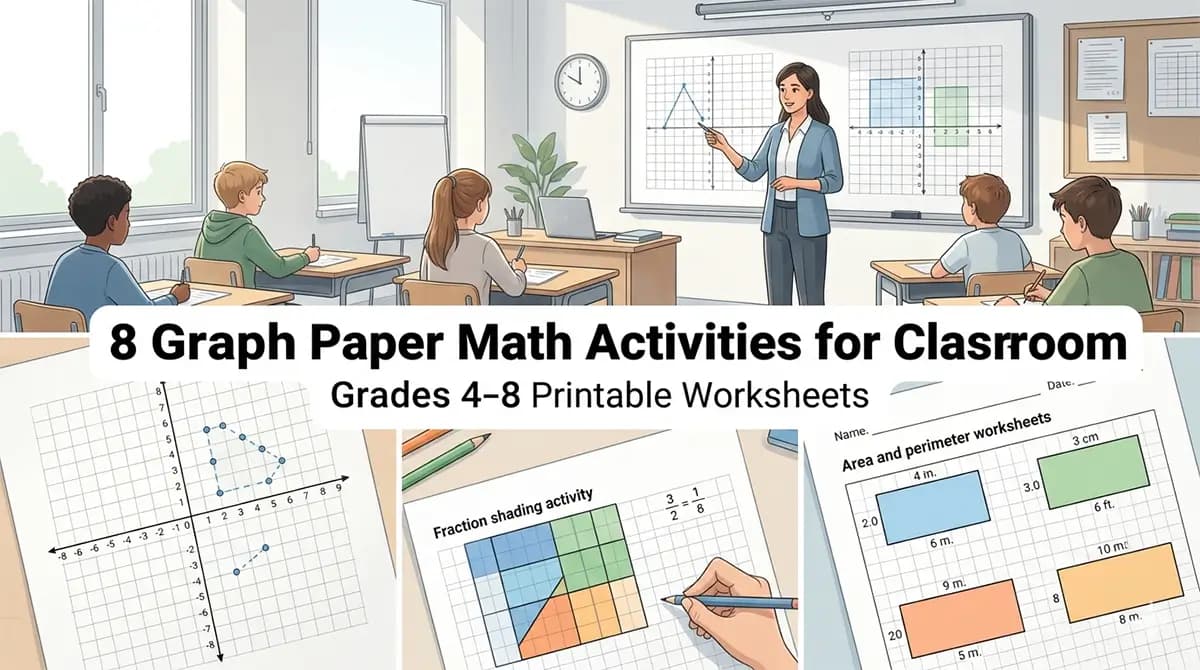
Using printable graph paper in a lesson reduces prep time while improving engagement and accuracy in student work.
It is especially effective when learners transition from concrete methods to more abstract reasoning.
Coordinate plotting challenge
Give students a list of ordered pairs to plot on a coordinate plane. When connected in sequence, the points reveal hidden shapes or pictures.
This activity strengthens understanding of x and y axes, quadrant placement, and spatial reasoning.
For higher engagement, turn it into a mystery-picture challenge where students predict the final shape before they finish plotting.
Area and perimeter race
Students receive target area or perimeter values and must draw as many correct rectangles as possible within a time limit.
This reinforces multiplication fluency, measurement reasoning, and flexible problem-solving strategies.
Increase difficulty by restricting side lengths or introducing decimal-based grid units.
Fraction area models
Students shade portions of graph paper to represent fractions and compare equivalent values visually.
This method makes fraction equivalence clearer than purely numerical explanation alone.
It also works well for introducing decimals and percentages using the same grid system.
Step-by-step lesson: Mystery picture coordinate plot
This 30-40 minute lesson turns the coordinate plotting challenge from earlier into a complete, ready-to-run educator activity. Materials: one printed coordinate-grid sheet per learner, a list of 15-25 ordered pairs, and a pencil.
1. Prep (5 minutes before class): Print one coordinate plane per student with axes labeled from -10 to 10, and write your ordered-pair list on the board or a handout. Choose a simple shape (a house, an arrow, a star) so the reveal is satisfying but not so complex that plotting drags on.
2. Introduce the rules (5 minutes): Remind students that the first number in a pair moves left or right along the x-axis and the second moves up or down along the y-axis. Plot the first 2-3 points together on the board so everyone starts from the same reference.
3. Independent plotting (15-20 minutes): Students plot the remaining points on their own sheet, connecting each new point to the previous one with a straight line as they go, in the order given on the list.
4. Reveal and check (5-10 minutes): Once most students finish, ask a few volunteers to describe what shape appeared. Circulate during plotting to catch sign errors (mixing up positive and negative x or y values) before they compound into a distorted shape.
Extension: have early finishers design their own 10-point mystery picture and ordered-pair list to trade with a partner, which reinforces the skill from the opposite direction: converting a shape into coordinates instead of coordinates into a shape.
Step-by-step lesson: Scale map of a room
This activity connects graph paper to real-world measurement and works well as a 40-50 minute lesson or a two-part project. Materials: one sheet of graph paper per learner or pair, a tape measure or meter stick, and a ruler for drawing straight lines on the grid.
1. Set the scale (5 minutes): Decide on a scale together as a class, for example 1 grid square equals 30cm (1 foot) of real room space. Write the scale on the board so every student's map uses the same conversion.
2. Measure the room (10-15 minutes): In pairs, students measure the room's length and width, plus the position and size of major features such as desks, doorways, and windows, recording each measurement in the same units as the scale.
3. Convert and draw (15-20 minutes): Students convert each real measurement into grid squares using the class scale, then draw the room outline and major features onto their graph paper, starting with the outer walls before adding interior details.
4. Check for accuracy (5-10 minutes): Have pairs swap maps and verify at least two measurements against the original tape measure data, checking that the ratio between two features on the map matches the ratio in the real room.
Extension: ask students to redraw the same room at a different scale (for example, doubling or halving the original) to reinforce that scale is a ratio that can change without changing the actual room, a common trouble spot when students first meet scale drawing.
More graph paper activities
Symmetry drawing: students complete mirrored designs using grid lines.
Scale drawing exercises: simple maps or room layout planning.
Pattern creation: repeating geometric sequences to explore rules and prediction.
Volume introduction: model basic 3D block structures using square units.
Teaching tips for better engagement
Use thicker grid lines every 5 or 10 squares so beginners can count faster and more accurately.
Start with larger spacing for beginners, then move to finer grids as confidence grows.
Pair printable graph sheets with colored pencils to make problem-solving more visual and interactive.
Generate printable graph paper
Create customized worksheets with adjustable grid size, line thickness, and margins for math lessons.
Open Graph Paper Tool