
How to Print Graph Paper at Home (A4, Letter, PDF Settings + No-Scaling Guide)
Print perfectly aligned graph paper at home with the right A4/Letter setup, PDF export options, and no-scaling printer settings.
Tip: Always design and print using the same paper size setting (A4 or Letter) to avoid scaling errors and misaligned grid spacing.
Step 1: Choose the correct paper size (A4 vs Letter)
Before generating or printing graph paper, always choose your paper size first. The two most common formats are A4 (international standard) and US Letter (8.5 x 11 inches).
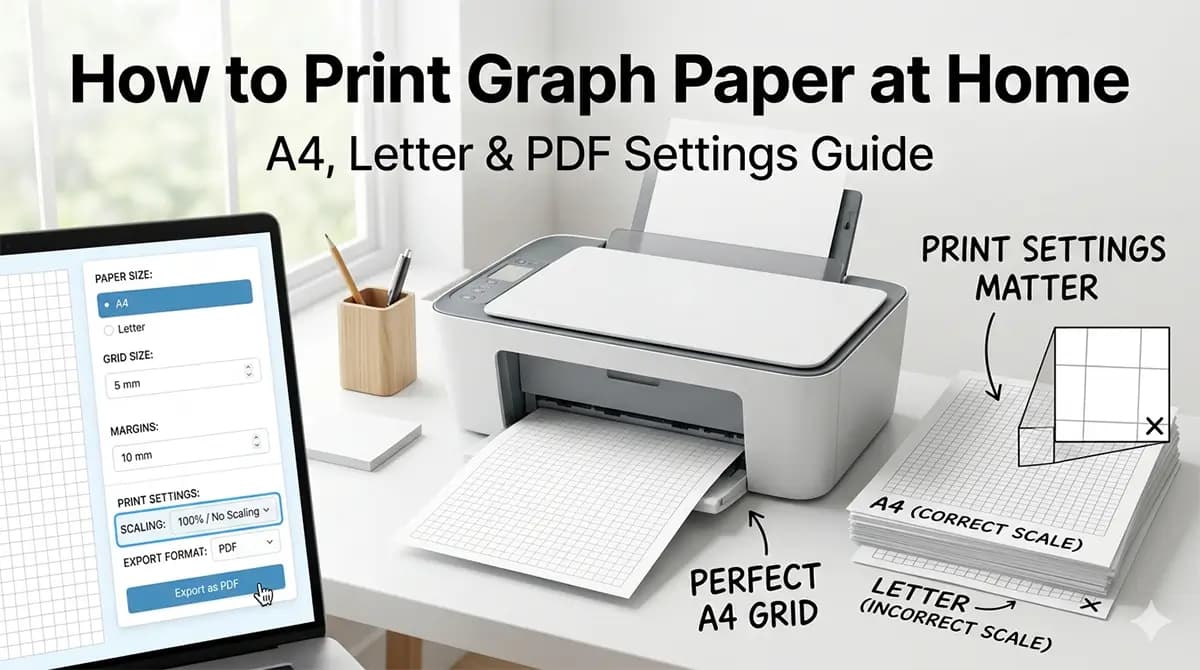
If the paper size does not match your printer settings, the grid may scale incorrectly, causing uneven spacing and distorted squares.
For accurate printable graph paper, consistency between generator settings and printer configuration is essential.
Step 2: Export settings for accurate grid printing
PDF is the most reliable format for printing graph paper because it preserves exact measurements, spacing, and line thickness.
Avoid exporting as images like PNG unless you are using them digitally, as image scaling can introduce small distortions.
Always set scale to 100% when exporting or printing PDF files. Disable fit-to-page unless you intentionally want resized grids.
PNG vs PDF: which format prints more accurately?
PDF stores your grid as vector instructions rather than a fixed grid of pixels, so line positions stay mathematically exact no matter what page size or print resolution the file is sent to. That is why PDF is the safer default for anything you plan to print, especially at smaller line spacings where a fraction of a millimeter of drift is visible.
PNG is a raster image: it locks in a fixed pixel width and height at export time. When a printer or print dialog stretches that PNG to fill a page, it has to resample those pixels, and the result depends on the printer driver's scaling algorithm rather than the exact measurements you set when generating the grid.
PNG is still the right choice for digital use: importing a grid into a tablet note app, a design tool, or a slide deck where pixel dimensions matter more than physical print scale. For anything going through a printer, export PDF and print it at 100% scale rather than relying on an image viewer's print dialog.
Step 3: Printer settings for perfect alignment
Use high-quality print mode for final worksheets to ensure clean and sharp grid lines.
Check your printer margin settings. Some printers add default borders that can shift the grid slightly off-center.
If available, use borderless printing for maximum page coverage and consistent grid alignment.
Margin troubleshooting: fixing clipped or off-center grids
If the outer rows or columns of your grid are missing after printing, the most likely cause is your printer's unprintable margin, not the PDF itself. Most home inkjet and laser printers cannot mark within roughly 3-5mm of the physical paper edge, and anything the generator places closer than that gets clipped regardless of scale settings.
Increase the page margin in the generator (10-15mm on each side is a safe starting point) rather than trying to compensate in the printer driver. This keeps the grid safely inside the printable area on the vast majority of consumer printers without shrinking the content.
If the grid looks centered on screen but shifts to one side once printed, check whether 'Center' or 'Auto-center' is enabled in the print dialog itself, separate from any centering option in the generator. Some drivers apply their own centering pass after the page is rasterized, which can undo a grid that was already centered in the PDF.
Duplex (double-sided) printing on some printers slightly shifts the second side to allow for binding. If you notice a consistent offset only on back sides, check for a duplex margin or binding-offset setting in the printer's advanced options and either disable it or account for it in your generator margins.
Ink-saving tips: light gray lines and draft mode
For grids you will write or draw over rather than frame, full black lines use more ink than necessary and can visually compete with pencil or pen marks. A light gray line color (roughly #B0B0B0 to #D0D0D0) stays clearly visible while using noticeably less ink across a full page, which adds up quickly when printing dozens of sheets for a workshop or notebook.
Pair a lighter line color with a thinner line weight where your printer supports it. A 0.1-0.2mm hairline at light gray is usually enough for a working grid, while heavier 0.5mm+ lines make sense only for a template you intend to trace or laminate.
Your printer's draft or economy print mode can reduce ink use further, but test it first: draft mode sometimes drops line weight enough that fine grid lines become faint or inconsistent. Run one test page in draft mode before switching an entire print job, and reserve normal or high-quality mode for grids where line clarity matters most.
Common printing mistakes to avoid
One of the most common mistakes is using fit-to-page, which changes the grid proportions.
Another issue is mixing paper sizes (designing in A4 but printing on Letter, or vice versa).
Low-quality print settings can make light grid lines too faint for lesson or writing use.
Best practice for consistent results
Always run a test print before printing large batches of graph paper worksheets.
Keep a consistent workflow: choose paper size, generate grid, export PDF, then print at 100% scale.
For workshop or professional use, standardize one template in your Graph Paper Generator for repeatable results.
Generate printable graph paper instantly
Customize grid size, spacing, margins, and export perfectly scaled PDF files ready for printing.
Open Graph Paper Tool